Hope you are all well, I have had the pleasure of working with this little cutie from Heartcraft Paper called Pirate Bunny, isn't he just the cutest :-) He was designed as a Halloween image however I wanted to go for a boy birthday card type theme.

I printed the image on X-Press It Blending Cardstock then coloured it up using Copic Markers. I didn't use a lot of colours but I got a lot of definition with what I did use.
Once I had the image coloured up I used a Lawn Fawn Stitched Circle and ran it through my Sizzix Big Shot.

I cut some mat layers from American Crafts Cardstock which I cut using my Fiskars Surecut Trimmer. I used a patterned paper pad from Crafter's Choice called Cheeky Pirate (unfortunately this is also retired I have had it for a very long time) to cut the top layer. I also found a sheet in this pad which was full of puzzle pieces, so I used my EK Success Cutterbee Scissors to fussy cut just one of them out.

Using American Tombow Mono Multi Liquid Adhesive I adhered the wheel and the puzzle piece.
This was my card complete.
I hope you have enjoyed my post today, if you have any questions feel free to send me a message or contact me via facebook (all links can be found below).
Products Used On My Card (Affiliate Links Used Where Possible)
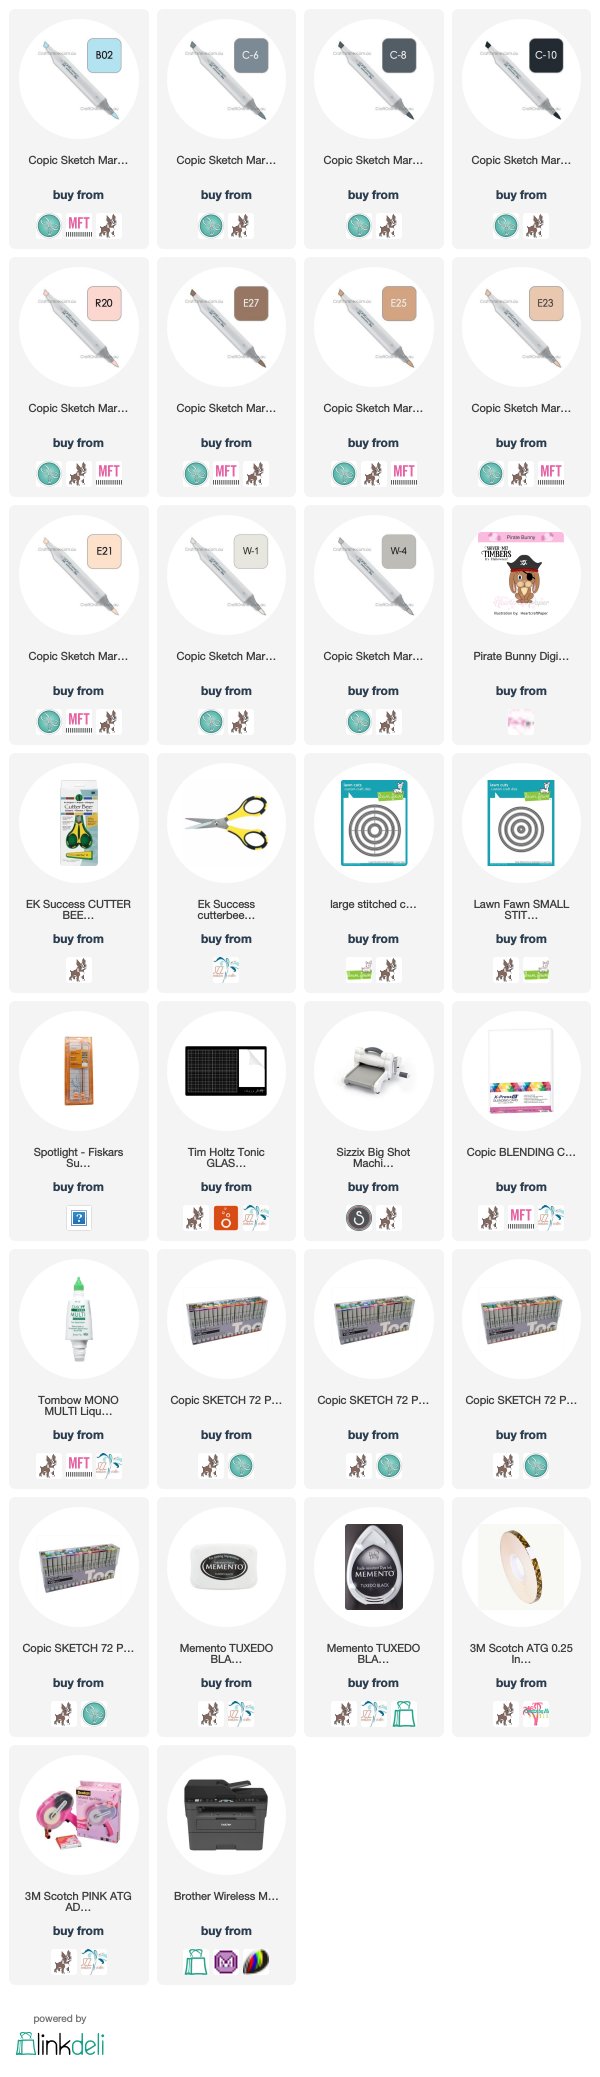
Copic Markers Used
W1, W4
E21, E23, E25, E27
R20
C6, C8, C10
B02
Thanks for stopping by, Deni
You can find my cards for sale here
https://www.facebook.com/angelhandmadepapercraft
My You Tube Here
https://www.youtube.com/c/AngelHandmadePapercraft/
Instagram Here
http://instagram/angelhandmadepapercraft
Pinterest Here
https://www.pinterest.com.au/DeniAngelHandmade/